Creating an online course is one of the most powerful ways to share your expertise, build authority, and generate income. But where do you begin?
Whether you’re a coach, creative, educator, or entrepreneur, this guide will walk you through each stage of the process—from shaping your idea to publishing your first polished lesson.
Step 1: Choose the Right Topic
Start with what you know—and what people want. The sweet spot lies at the intersection of your expertise and your audience’s needs.
Ask:
- What do people ask me for help with?
- What problem can I help solve?
- Can this topic be taught in a structured way?
Validate your idea by talking to your audience or doing keyword research.
Step 2: Outline Your Course
Break your topic into logical modules or sections. Each module should cover one core concept and build on the previous one.
Keep it clear, focused, and results-driven. Learners should be able to do something new after each section.
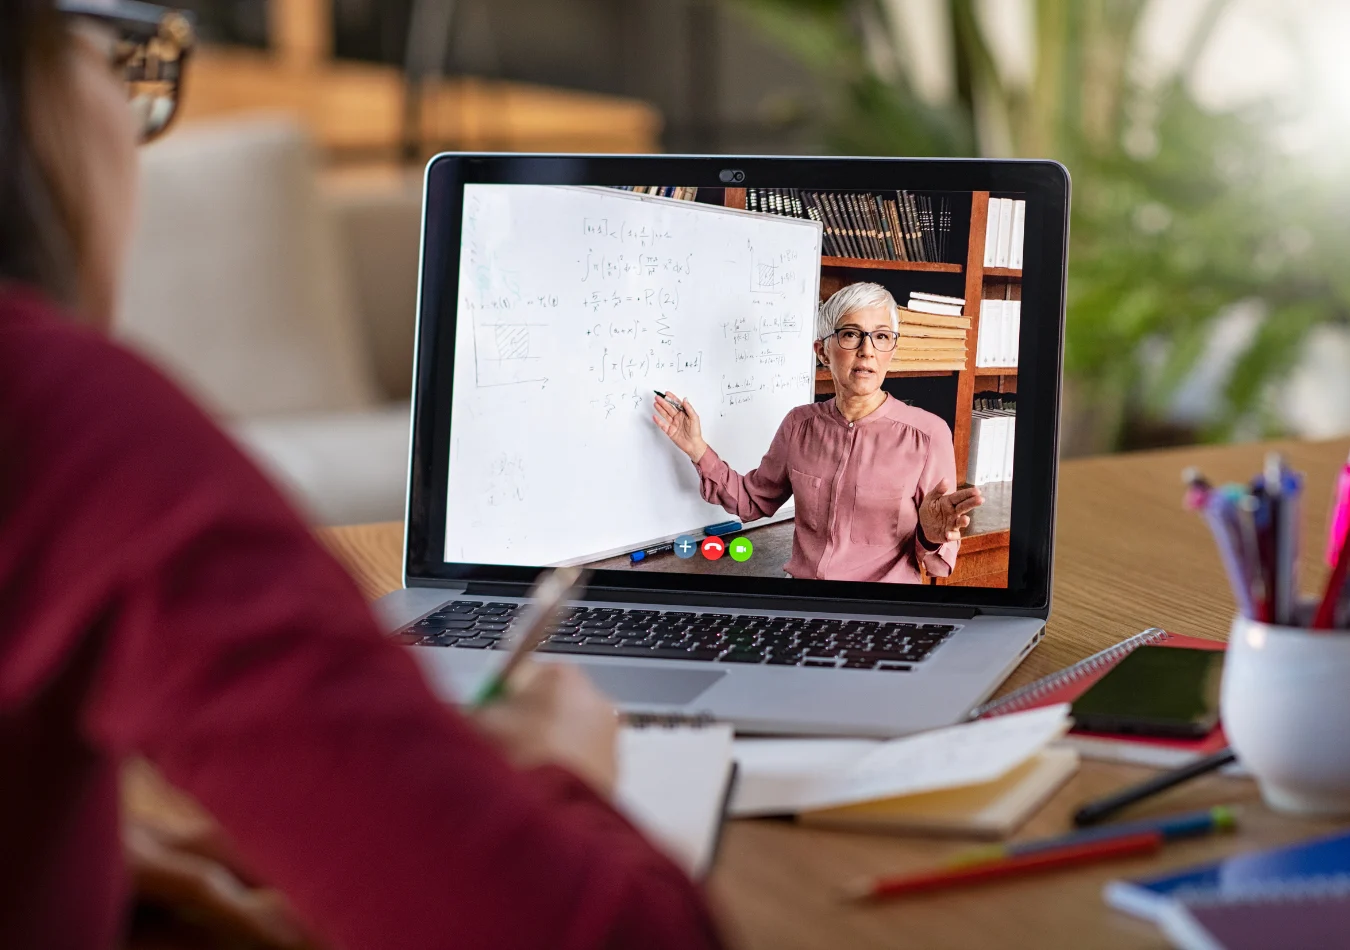
Step 3: Choose the Right Format—and the Right Support
While it’s tempting to DIY your course videos with a phone and free software, the truth is: quality matters. Today’s learners expect professional visuals, clean audio, and content that feels polished from start to finish.
That’s where hiring a professional videographer makes all the difference.
- They help you plan a shoot that matches your message.
- They bring pro-level cameras, lighting, and sound.
- They know how to frame, direct, and film you in the best possible light—literally and figuratively.
- And when it comes time to edit, they’ll turn raw footage into a sleek, on-brand learning experience.
Trying to manage all of this yourself can drain time and energy you should be spending on your content. A trusted professional like Yuri Panin, founder of PIN Productions, can guide you through the entire process—so your course looks as expert as it sounds.
Step 4: Prepare Your Recording Space
If you do choose to film some pieces on your own, aim for a quiet, uncluttered setting with good lighting. But for anything client-facing or revenue-generating, consider a pro setup.
Even one day of working with a skilled videographer can result in weeks’ worth of high-quality course material.
Step 5: Record Your Content
Be yourself. Speak directly to your learner. Focus on clarity and energy—not perfection. A great video editor will smooth out rough edges, clean up audio, and help maintain flow.
And again, this is where working with someone like Yuri Panin pays off: you’re not just recording—you’re building a premium brand experience.
Step 6: Edit with Intention
Editing isn’t just about cutting out “ums” and silences. It’s about enhancing the learning journey.
A professional editor adds:
- Transitions and pacing that keep learners engaged
- Titles, overlays, and captions for accessibility
- Visual storytelling techniques that elevate comprehension
It’s hard to replicate that level of polish with basic tools. Investing in expert editing helps you deliver a course that students finish—and recommend.
Step 7: Publish and Launch
Choose a course platform like Teachable, Thinkific, or Kajabi. Upload your finished modules, design a landing page, and create a launch plan.
But remember: a great course isn’t just about content. It’s about presentation. And the right visual production can make the difference between a pass and a purchase.
Want your course to stand out with cinematic quality and pro-level editing?
Yuri Panin is a veteran videographer with over 20 years of experience crafting powerful, visual stories for educators, creators, and entrepreneurs. Through PIN Productions, Yuri brings clarity, creativity, and technical excellence to every frame.
👉 Contact Yuri today for a custom quote and start building the course your audience deserves.

Leave a Reply